Imagine sinking your spoon into a luscious, velvety scoop of ice cream, its tropical sweetness melting on your tongue, transporting you to a sun-drenched beach. Now, imagine achieving that blissful experience right in your own kitchen, without the need for any fancy gadgets or an expensive ice cream maker. Sounds too good to be true? Not at all! Whipping up incredibly creamy homemade coconut ice cream is surprisingly simple, relying on just a few key ingredients and a clever technique that transforms ordinary coconut milk into an extraordinary frozen delight.
This dairy-free ice cream alternative offers a refreshing escape, perfect for warm days, dessert cravings, or for those seeking a lighter, plant-based treat. Forget store-bought varieties loaded with artificial additives; this recipe brings you pure, unadulterated coconut bliss, making it a healthier and more satisfying choice. So, roll up your sleeves, because we're about to unlock the secrets to a perfect batch of homemade coconut ice cream without a machine.
The Allure of Homemade Coconut Ice Cream: Why Go No-Churn?
There's a special satisfaction that comes with creating delicious food from scratch, and ice cream is no exception. Beyond the sheer joy of culinary creation, making homemade coconut ice cream offers a host of compelling benefits:
- Unrivaled Freshness and Flavor: You control every ingredient, ensuring peak freshness and the purest coconut taste. No artificial flavors or preservatives here!
- Dietary Inclusivity: Naturally dairy-free, this recipe is a fantastic option for those with lactose intolerance, dairy allergies, or anyone following a vegan lifestyle.
- Cost-Effective: Making your own ice cream can often be more budget-friendly than purchasing gourmet dairy-free options from the supermarket.
- Customization Galore: Once you master the basic recipe, the possibilities for flavor variations and mix-ins are endless. From toasted nuts to fruit purees, you can tailor every batch to your exact preferences.
- No Special Equipment Required: This is arguably the biggest draw! Many people shy away from making ice cream at home because they don't own an ice cream maker. Our no-churn method eliminates this barrier, proving that an achieve velvety dairy-free coconut ice cream: no machine needed is truly possible with just a bowl, a whisk, and your freezer.
This easy approach ensures that anyone, regardless of their kitchen gadget collection, can indulge in a truly tropical treat. It’s an easy homemade coconut ice cream: your tropical escape recipe that’s just a few simple steps away.
Essential Ingredients for Creamy Perfection
The beauty of this homemade coconut ice cream lies in its simplicity. With just a handful of quality ingredients, you can achieve a remarkably rich and creamy texture. Here's a breakdown of what you'll need and why each component is crucial:
The Stars of the Show:
- Full-Fat Coconut Milk: This is the absolute cornerstone of your creamy coconut ice cream. The high-fat content in full-fat coconut milk (specifically the thick cream that separates) is what provides the luxurious richness and smooth texture we crave in ice cream. It's the natural emulsifier and body-builder of this recipe. While light coconut milk can be used, be aware that the final texture will be less decadent and more icy. Almond or soy milk can substitute, but they will drastically alter the flavor profile and may require additional fat or thickeners to achieve a similar consistency.
- Granulated Sugar: Beyond sweetness, sugar plays a vital role in the texture of ice cream. It acts as an anti-freeze, lowering the freezing point of the mixture and helping to prevent large ice crystals from forming, thus contributing to a smoother mouthfeel. You can adjust the amount to suit your taste. For a less processed option, consider using coconut sugar (which will lend a subtle caramel note) or maple syrup, though these liquid sweeteners might slightly alter the final texture and sweetness level. Always taste and adjust!
- Pure Vanilla Extract: A touch of pure vanilla extract elevates the flavor profile, adding warmth and depth that complements the coconut beautifully. For an extra tropical punch, consider swapping it for coconut extract – it truly amplifies the coconut experience! If you're out, you can skip it, but it does make a difference.
- A Pinch of Salt: Don't underestimate the power of salt in sweet dishes! A small amount of salt doesn't make the ice cream salty; rather, it balances the sweetness and enhances all the other flavors, making the coconut notes pop even more.
- Shredded Toasted Coconut (Optional, for Topping): While optional, toasted shredded coconut adds a delightful textural contrast and visual appeal. Toasting it intensifies its flavor and gives it a lovely golden hue. You can use sweetened or unsweetened, depending on your preference for overall sweetness. If using sweetened, you might want to slightly reduce the sugar in the main mixture.
The Secret to No-Churn Creaminess: Manual Whipping
The biggest question when making homemade coconut ice cream without a machine is often, "How do I get it creamy and not just a block of ice?" The answer lies in a simple yet effective technique: manual stirring during the freezing process. This method mimics the continuous churning of an ice cream maker, preventing the formation of large, crunchy ice crystals that can ruin the texture.
Here’s the science and technique behind it:
- Initial Chill: After mixing your ingredients, pour the liquid into a shallow, freezer-safe container. A shallow container allows for faster and more even freezing, which is beneficial for the stirring process.
- First Freeze & Stir: Place the container in the freezer for about 1-2 hours. You're looking for the edges to start solidifying and the center to still be somewhat slushy. At this point, retrieve the mixture and stir it vigorously. Use a sturdy spoon, spatula, or a whisk. The goal is to break up any ice crystals that have started to form and to reincorporate the firmer edges into the softer center. This action creates a smoother, more uniform consistency.
- Repeat for Perfection: Return the mixture to the freezer and repeat this stirring process every hour for the next 3-5 hours. You'll notice the mixture getting progressively thicker and harder to stir with each interval. As it stiffens, you can even use an electric hand mixer for a few minutes to really break down those crystals and whip in some air, contributing to an even lighter, creamier texture.
- Final Freeze: After 4-6 hours of this intermittent stirring, the homemade coconut ice cream should have a consistent, soft-serve-like texture. Give it one last good stir, then allow it to freeze undisturbed for another 2-4 hours, or until completely firm.
This consistent agitation is key. It continuously disrupts the formation of large ice crystals, ensuring your final product is wonderfully smooth and scoopable, just like traditional churned ice cream. Patience is a virtue here, but the results are absolutely worth the minimal effort.
Whip Up Your Own Tropical Treat: Step-by-Step Recipe
Ready to make your own batch of homemade coconut ice cream? Here’s everything you need, from prep to the final delicious scoop!
Ingredients You'll Need:
- 2 cans (13.5 oz each) full-fat coconut milk
- 1/2 cup granulated sugar (adjust to taste)
- 1 tbsp pure vanilla extract
- 1/4 tsp salt
- 1/2 cup shredded unsweetened toasted coconut (for topping, optional)
How Much Time Will You Need?
- Preparation Time: Approximately 15 minutes
- Freezing Time: 4-6 hours (with active stirring), plus an additional 2-4 hours for final firming.
- Pro-Tip: Chill your coconut milk cans overnight for optimal results!
Step-by-Step Instructions:
- Chill the Coconut Milk: For the best results, place both cans of full-fat coconut milk in the refrigerator overnight (or at least 8 hours). This crucial step allows the thick coconut cream to separate and solidify at the top of the can, making it easier to scoop out. The thinner coconut water will remain at the bottom.
- Prepare the Coconut Cream: Once chilled, open the cans carefully. Using a spoon, gently scoop out the thick, solidified coconut cream from each can into a large mixing bowl. Try to leave as much of the thinner coconut water behind as possible. (Don't discard the coconut water! It's fantastic for smoothies, curries, or hydrating drinks.)
- Blend with Sweetness and Flavor: To the bowl of coconut cream, add the granulated sugar, pure vanilla extract, and salt. Using a hand mixer (or a sturdy whisk and some elbow grease), beat the mixture until it is completely smooth, creamy, and well combined. Taste and adjust sugar if necessary; remember flavors can mellow when frozen.
- Prepare for Freezing: Pour the smooth coconut cream mixture into a freezer-safe container. A shallow, wide container (like a loaf pan or an 8x8 baking dish) works best for even freezing and easy stirring.
- The No-Churn Freezing Process:
- Place the container in the freezer. After 1-2 hours, when the edges start to harden, remove it.
- Using a spoon, fork, or whisk, vigorously stir the mixture, breaking up any ice crystals and incorporating the firmer parts into the softer center.
- Return to the freezer and repeat this stirring process every hour for the next 3-5 hours. The more consistently you stir, the creamier your homemade coconut ice cream will be.
- Final Freeze and Serve: After the last stirring interval, allow the ice cream to freeze undisturbed for an additional 2-4 hours, or until it reaches your desired firmness. If it becomes too hard, let it sit at room temperature for 5-10 minutes before scooping.
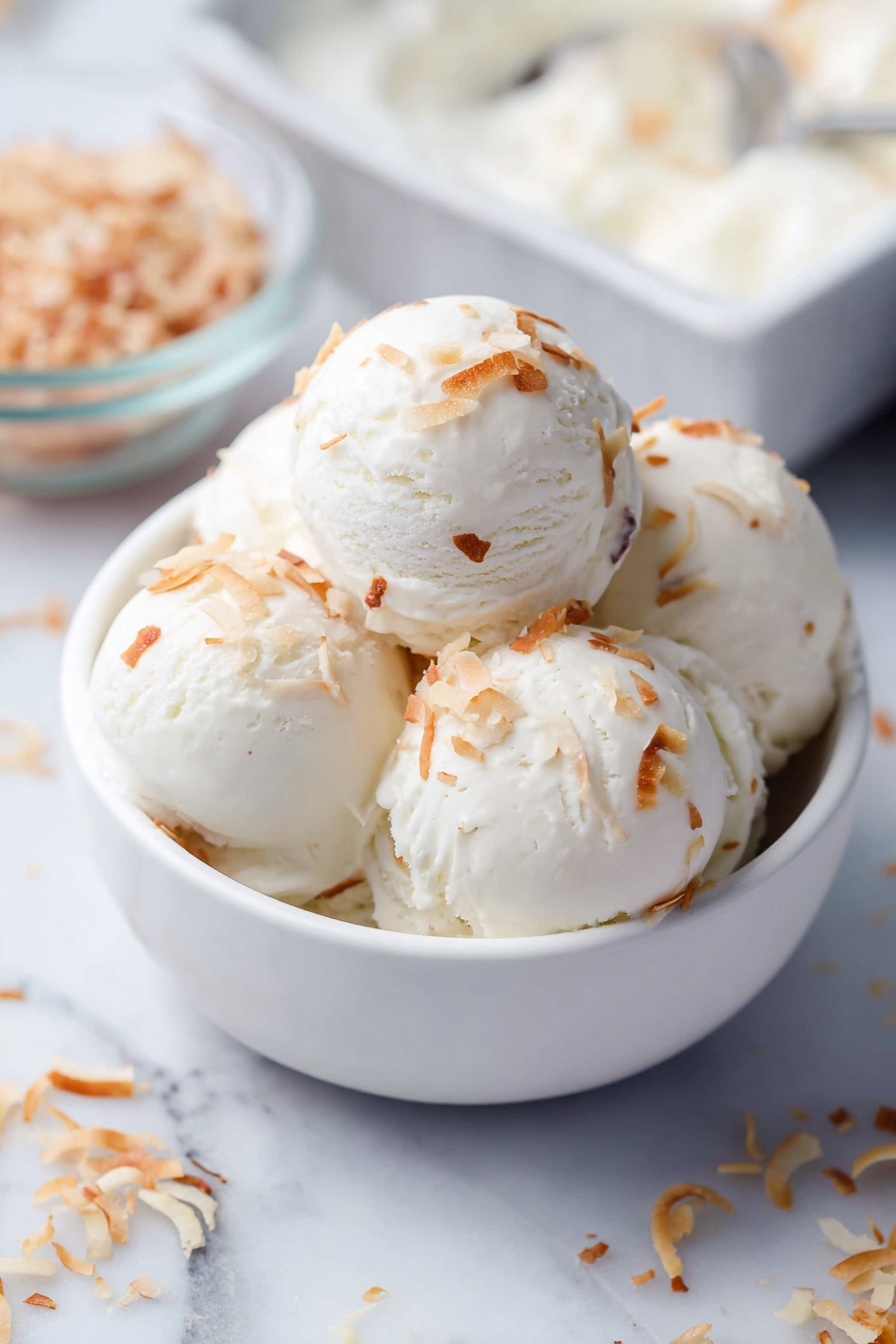
- Garnish and Enjoy: Scoop into bowls, sprinkle with toasted shredded coconut if desired, and enjoy your incredibly creamy homemade coconut ice cream!
Tips for Success and Flavorful Variations
Making homemade coconut ice cream is already a win, but these extra tips can elevate your dessert even further:
Achieving the Ultimate Creaminess:
- Quality Matters: Always opt for high-quality, full-fat coconut milk from a reputable brand. Some brands have a higher fat content and will yield a creamier result.
- The Chill Factor: Don't skip chilling the coconut milk overnight. This is non-negotiable for maximizing creaminess.
- Stir Diligently: Consistent stirring every hour during the initial freezing phase is the single most important step for preventing ice crystals and achieving that smooth, velvety texture.
Exciting Flavor Boosters & Mix-ins:
- Tropical Extracts: Beyond vanilla and coconut extract, consider a few drops of almond extract for a marzipan-like twist, or a hint of lime or orange zest for brightness.
- Spices: A pinch of cardamom, cinnamon, or nutmeg can add a wonderfully warm and exotic note to your homemade coconut ice cream.
- Fruity Swirls: Swirl in some mango, passion fruit, or berry puree during the last few stirs for a beautiful ripple effect and burst of fresh flavor.
- Chocolate Lover's Dream: Stir in mini chocolate chips or finely chopped dark chocolate during the final stages of stirring.
- Nutty Crunch: Add chopped toasted cashews, macadamia nuts, or almonds for extra texture and flavor.
- Caramel or Fudge Swirl: A drizzle of dairy-free caramel or chocolate fudge sauce can make for an irresistible treat.
Storage and Serving:
- Airtight Container: Store your homemade coconut ice cream in an airtight container to prevent freezer burn and maintain its texture. It will keep well for up to two weeks in the freezer.
- Soften Slightly: If your ice cream is rock hard after prolonged freezing, let it sit on the counter for 5-10 minutes before scooping to achieve the perfect consistency.
Conclusion
You now have all the knowledge and tools to create truly creamy homemade coconut ice cream without a machine. This simple yet incredibly rewarding recipe proves that you don't need specialized equipment to enjoy a rich, dairy-free, and utterly delicious frozen dessert. From its essential full-fat coconut milk base to the critical no-churn stirring technique, every step is designed to deliver a smooth, tropical escape right to your bowl.
So, the next time you're craving a taste of paradise, skip the trip to the store and embark on your own culinary adventure. Experiment with flavors, add your favorite mix-ins, and revel in the satisfaction of creating something so wonderfully delicious from scratch. This easy homemade coconut ice cream is more than just a dessert; it's a testament to the fact that with a little patience and creativity, truly extraordinary treats are well within reach.
