Achieve Velvety Dairy-Free Coconut Ice Cream: No Machine Needed
Imagine a scoop of luscious, tropical ice cream melting on your tongue, its rich creaminess balanced by a hint of exotic sweetness. Now, imagine achieving this dairy-free dream right in your own kitchen, without the need for any fancy gadgets. Welcome to the world of easy homemade coconut ice cream – a creamy, sweet, and utterly satisfying treat that proves you don't need an ice cream maker to create dessert perfection. This guide will walk you through crafting a truly velvety dairy-free coconut ice cream, transforming simple ingredients into a taste of paradise.
Our journey begins with embracing simplicity. Forget the complex machinery and lengthy processes often associated with ice cream making. This method focuses on a few key ingredients and a clever technique that ensures a smooth, scoopable texture every time. Whether you're navigating dietary restrictions or simply looking for a fun, healthier dessert alternative, this homemade coconut ice cream recipe is your ticket to a refreshingly delightful experience.
The Tropical Allure: Why Homemade Coconut Ice Cream?
The appeal of homemade coconut ice cream extends far beyond its delicious taste. For many, it's a welcome answer to dietary needs. Being inherently dairy-free and often vegan (depending on your choice of sugar), it opens up the joy of ice cream to those avoiding dairy products due to allergies, intolerances, or ethical choices. Beyond that, the natural sweetness and distinct flavor of coconut transport you to a sun-drenched beach with every spoonful, offering a mini-vacation in a bowl.
Opting for homemade also gives you unparalleled control over the ingredients. You can handpick the quality of your coconut milk, adjust the sweetness to your exact preference, and avoid the artificial additives, preservatives, and excessive sugars often found in store-bought varieties. This results in a purer, fresher, and arguably more authentic flavor that truly shines. Plus, there's an undeniable satisfaction in crafting something so delightful from scratch. It's an accessible luxury that anyone can master, providing a refreshing escape without leaving home.
The Pillars of Perfection: Key Ingredients for Creaminess
While the magic lies in the method, the foundation of exceptional homemade coconut ice cream rests squarely on its ingredients. Each component plays a vital role in achieving that coveted creamy, scoopable texture and tropical flavor profile.
- Full-Fat Coconut Milk: The Cream King
This is non-negotiable for achieving a truly luxurious, rich texture. Full-fat coconut milk contains a high percentage of coconut cream, which is essentially the fat content of the coconut. When chilled overnight, this cream separates and solidifies, making it easy to scoop out the thick, opulent part. It's this high fat content that mimics the mouthfeel of dairy cream, preventing excessive ice crystal formation and lending that incredible velvety consistency. While lighter versions exist, they simply won't deliver the same decadent result. Similarly, while almond or soy milk can be used, they significantly alter the flavor and yield a less rich, often icier, texture. - Granulated Sugar: Sweetness & Structure
Beyond just sweetening, sugar plays a crucial role in the texture of ice cream. It acts as an anti-freeze, lowering the freezing point of the mixture and contributing to a softer, less icy final product. Granulated sugar is standard, but you can explore alternatives like coconut sugar for a deeper, caramel-like note, or even maple syrup for a slightly different sweetness profile. Remember to adjust the quantity to your personal taste, as everyone's ideal sweetness level varies. - Pure Vanilla Extract: The Flavor Enhancer
A splash of pure vanilla extract elevates and rounds out the overall flavor, adding a warm, aromatic backdrop that beautifully complements the coconut. For those who want an even more pronounced coconut punch, consider swapping vanilla for coconut extract. It's a fun twist that intensifies the tropical theme. If you're out of either, you can certainly omit it, but you'll miss that subtle layer of complexity. - A Pinch of Salt: Balancing Act
Don't underestimate the power of a tiny pinch of salt. It doesn't make the ice cream salty; rather, it brightens and enhances all the other flavors, particularly the sweetness, preventing the ice cream from tasting flat. - Toasted Shredded Coconut: Texture and Aroma (Optional, but Recommended)
While optional, incorporating some toasted shredded coconut (unsweetened or sweetened, to your preference) adds a delightful textural contrast and an intensified coconut aroma. Toasting the coconut brings out its nutty notes and adds a beautiful golden visual appeal. You can stir it into the mixture before freezing or use it as a garnish for extra flair.
The Secret to Velvety Smoothness: Your No-Machine Method
The burning question for many aspiring ice cream makers is: how do I get creamy coconut ice cream without an ice cream maker? The answer lies in patience and an ingenious technique: manual stirring during the freezing process. This isn't just random stirring; it's a deliberate action designed to combat the formation of large, unpleasantly icy crystals, which are the bane of machine-free ice cream.
Here’s the step-by-step approach to achieving that dreamy texture:
- Initial Freeze (1-2 Hours): After pouring your well-mixed coconut ice cream base into a freezer-safe container (a shallow, wide container is ideal as it freezes more evenly and makes stirring easier), place it in the freezer. Allow it to freeze for approximately 1 to 2 hours, or until the edges begin to solidify and the mixture starts to harden around the perimeter, but the center is still soft.
- The First Stir: Remove the container from the freezer. Using a sturdy spoon, a whisk, or even an immersion blender for extra smoothness, vigorously stir the mixture. Scrape down the frozen edges and thoroughly incorporate them into the softer center. The goal is to break up any nascent ice crystals before they grow large and turn the mixture granular. This also reincorporates air, contributing to a lighter texture.
- Repeat for Perfection: Return the mixture to the freezer. You will need to repeat this stirring process every hour for approximately 4 to 6 hours, or until the ice cream reaches your desired consistency. Each time you stir, you're disrupting the crystal formation, ensuring a progressively smoother and creamier final product. The more diligently you stir, the less icy your ice cream will be.
- Final Freeze: Once your ice cream has been stirred several times and has achieved a consistently smooth texture, give it one final, longer freeze (another 2-4 hours, or overnight) to firm up completely for scooping.
This iterative stirring process might seem like a bit of effort, but it's a small price to pay for homemade, dairy-free ice cream that rivals any store-bought version in terms of creaminess. It’s a testament to simple techniques yielding extraordinary results.
Crafting Your Tropical Delight: The Easy Recipe
Ready to make your own batch of heavenly homemade coconut ice cream? Here’s a detailed guide to bring this tropical dream to life.
Ingredients You’ll Need:
- 2 cans (13.5 oz each) full-fat coconut milk
- ½ cup granulated sugar (adjust to taste, adding more or less as desired)
- 1 tablespoon pure vanilla extract (or coconut extract for an extra tropical kick)
- ¼ teaspoon salt
- ½ cup shredded unsweetened toasted coconut (for topping or mixing in, optional)
Preparation and Freezing Time:
This recipe requires about 15 minutes of active preparation time. The bulk of the time will be spent chilling the coconut milk overnight and then the 4-6 hours (or more) for freezing and periodic stirring. Plan ahead to ensure your coconut milk is properly chilled.
Step-by-Step Instructions:
- Chill the Coconut Milk Overnight: This is a crucial first step. Place both cans of full-fat coconut milk in the refrigerator overnight (at least 8-12 hours). This allows the thick coconut cream to separate and rise to the top, solidifying in the cold. The thinner coconut water will settle at the bottom.
- Prepare the Coconut Cream: The next day, carefully open the chilled cans. Using a spoon, gently scoop out only the thick, solid coconut cream from the top of each can into a large mixing bowl. Be mindful to leave the clear coconut water behind. You can save this coconut water for smoothies, curries, or refreshing drinks – it’s packed with electrolytes!
- Blend for Smoothness: Add the granulated sugar, pure vanilla extract (or coconut extract), and the pinch of salt to the bowl with the coconut cream. Using a hand mixer or a robust whisk, beat the mixture vigorously for 2-3 minutes until it becomes beautifully smooth, creamy, and the sugar has fully dissolved. Taste and adjust sweetness if necessary.
- Begin the Freezing Process: Pour the smooth coconut cream mixture into your chosen freezer-safe container. Ensure the container has a lid to prevent freezer burn.
- The Critical Stirring Phase: Place the container in the freezer. After 1-2 hours, remove it and stir thoroughly with a spoon or whisk, scraping down the sides and breaking up any ice crystals forming. Return to the freezer. Repeat this vigorous stirring every hour for the next 4-6 hours. This consistent agitation is what yields the incredibly smooth, velvety texture without an ice cream machine.
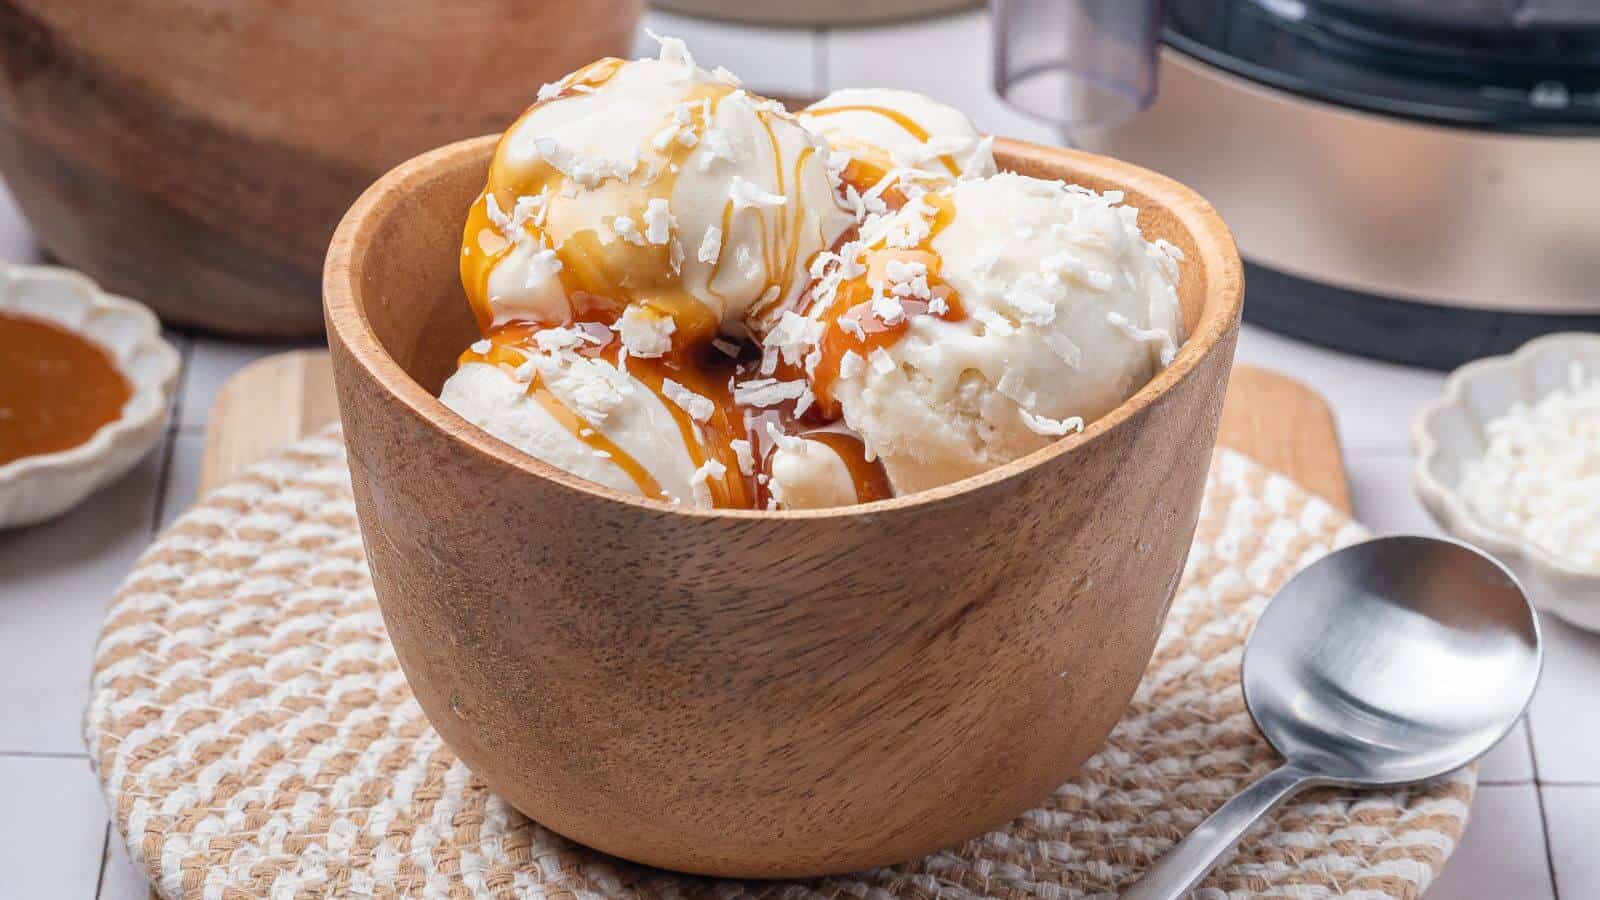
- Final Freeze and Serve: After the last stir, let the ice cream freeze undisturbed for another 2-4 hours, or until it reaches a firm, scoopable consistency. If it becomes too hard after prolonged freezing, let it sit on the counter for 5-10 minutes before scooping. Serve immediately, topped with toasted shredded coconut if desired, or get creative with your favorite toppings like fresh berries, chocolate shavings, or a drizzle of maple syrup.
Tips for Perfection and Creative Twists
- Container Choice Matters: A wide, shallow metal or glass container will freeze more evenly and make the stirring process easier than a deep, narrow one.
- Don't Skimp on Chilling: The overnight chill for the coconut milk is paramount. If you're in a rush, you can place cans in the freezer for about 30-60 minutes, but overnight in the fridge is always best for maximum cream separation.
- Adjust Sweetness: Feel free to experiment with different types and amounts of sweeteners. For a less refined option, try maple syrup or agave nectar, though these liquid sweeteners might slightly alter the final texture.
- Mix-in Marvels: Once the ice cream is about halfway through its freezing and stirring process, you can fold in your favorite mix-ins! Think chocolate chips, finely chopped nuts, fresh fruit pieces (like mango or pineapple), a swirl of fruit puree, or even a dash of cinnamon or cardamom for an exotic twist.
- Serving Suggestion: For the best scoopability and flavor, let your homemade coconut ice cream sit at room temperature for 5-10 minutes before serving, especially if it's been frozen solid for a long time.
- Storage: Store your homemade coconut ice cream in an airtight container in the freezer for up to 2-3 weeks. Beyond that, the texture might begin to degrade.
Creating your own velvety, dairy-free coconut ice cream at home is a rewarding experience that proves gourmet desserts don't require professional equipment. With just a few simple ingredients and the clever technique of periodic stirring, you can unlock a tropical escape right in your freezer. This homemade treat is not just delicious; it's a testament to the joy of crafting wholesome, satisfying desserts that cater to various tastes and dietary needs. So, grab your coconut milk, chill it well, and prepare to indulge in a truly delightful and surprisingly easy frozen dessert.
